

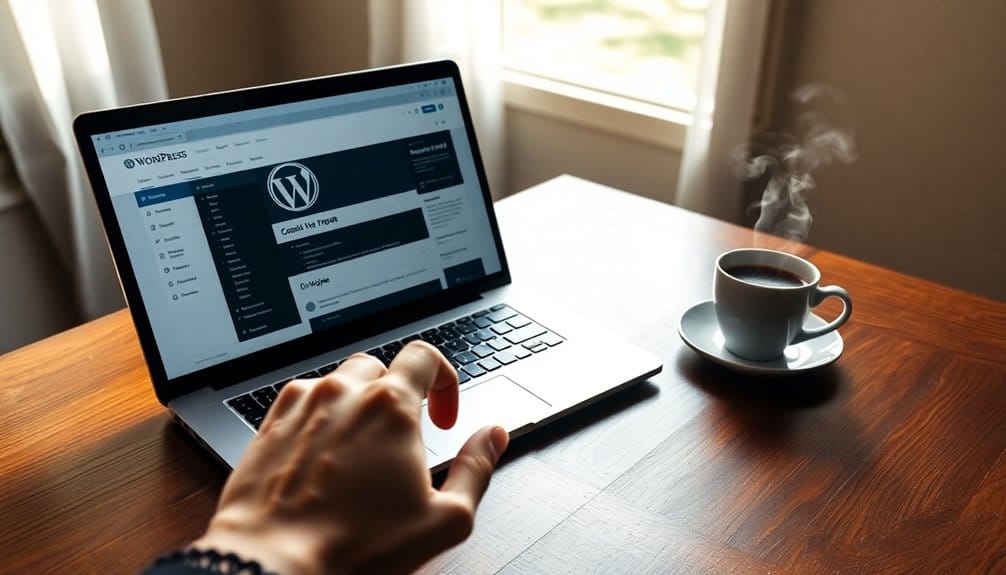
To create a private post or page in WordPress, head to your dashboard and click “Add New” under Posts or Pages. Write your content, then find the “Visibility” setting in the Publish box. Select “Private” to restrict access to specific users, and hit “Publish.” This keeps your information secure and allows for tailored sharing. If you want to manage roles or troubleshoot issues, you’ll find more helpful insights waiting for you.
What Is a Private Post or Page in WordPress?
A private post or page in WordPress acts like a secure vault for your content. It allows you to create private content that only specific users can see.
When you set a post or page to private, you gain visibility control, ensuring that your information is only accessible to those you choose, like editors or administrators. This feature is particularly useful for sensitive topics, drafts, or personal notes that you don’t want the public to view.
You’ll find the option in the post settings, making it easy to manage who’s access. By using private posts or pages, you can maintain confidentiality while still utilizing WordPress’s powerful features for organization and presentation. Moreover, understanding user roles and permissions is crucial for effectively managing who can view your private content.
Why Use Private Posts or Pages?
Private posts and pages offer a range of benefits that can enhance your WordPress experience. By using them, you can control who sees your content, ensuring it reaches the right audience.
Private posts empower you to tailor your audience, ensuring your content reaches those who matter most.
This audience targeting allows you to tailor your messages, keeping confidential information secure while still sharing valuable insights with select viewers.
Additionally, private content benefits include the ability to collaborate with team members without exposing sensitive details to the public. It’s perfect for drafts, internal communications, or exclusive updates.
When you leverage private posts, you create a more focused environment that fosters engagement and trust among your chosen audience, ultimately enhancing the overall effectiveness of your WordPress site. Furthermore, having regular backups ensures that your private content remains secure against potential data loss.
How to Create a Private Post in WordPress?
Creating a private post in WordPress is a straightforward process that can be completed in just a few steps.
First, go to your WordPress dashboard and click on “Add New” under the Posts section. Once you’re in the editor, write your content as usual.
Next, look for the “Visibility” settings in the Publish box on the right side. Click on “Edit” next to Visibility, and select “Private.” This guarantees only you and users with the appropriate permissions can view this private content.
After adjusting the settings, hit “Publish” to make your post live. Additionally, ensure your site is protected against common threats by using security plugins to enhance your overall WordPress security.
How to Create a Private Page in WordPress?
Creating a private page in WordPress is straightforward once you know the steps.
You’ll start by accessing the WordPress editor, then set the privacy options to keep your content secure.
Finally, you can publish your page with confidence, knowing it’s only visible to those you choose. Additionally, ensuring that your site uses HTTPS encryption can further protect your private content from unauthorized access.
Accessing WordPress Editor
To set up a private page in WordPress, start by accessing the WordPress Editor from your dashboard.
Simply log into your site and navigate to the “Pages” or “Posts” section, depending on what type of content you want to create.
Click on “Add New” to open the WordPress Editor, where you’ll find a clean interface for your content creation.
Here, you can easily add text, images, and other media to your page.
Familiarize yourself with the tools available, like formatting options and blocks, to enhance your content.
Once you’ve crafted your page, you’re ready to adjust privacy settings, ensuring only the intended audience can view it.
Get comfortable with the WordPress Editor; it’s your main tool for effective content creation.
Setting Privacy Options
Once you’ve finished crafting your content, it’s time to set the privacy options for your page or post.
In the WordPress editor, look for the “Visibility” settings in the “Publish” section. Here, you can choose between public, password-protected, or private.
If you select “Private,” only users with the appropriate permissions can view your content. This is perfect for sharing sensitive information or exclusive updates.
When you opt for “Password Protected,” you’ll need to share a password with your audience to control access.
Adjusting these privacy settings guarantees your content visibility aligns with your intentions, keeping your post or page secure and accessible only to the right audience.
Publishing Your Page
After setting the privacy options for your content, you’re ready to publish your page. Simply click the “Publish” button, and your private page is live!
By choosing to create private content, you enjoy numerous benefits, such as controlling who sees your information and managing visibility effectively. This is especially useful for sensitive topics or exclusive updates meant for a select audience.
Remember, only users with the right permissions can access your private page, ensuring that your content remains secure.
If you ever need to adjust the privacy settings, you can easily do so from the editing screen. With just a few clicks, you can maintain the privacy and exclusivity of your content while still sharing it with designated individuals.
Understanding User Roles and Permissions
User roles and permissions are essential for managing access to your WordPress content. They determine who can view or edit your posts and pages. By understanding user roles, you can effectively implement access control and guarantee proper role management.
Each role has different permission levels, dictating user capabilities—from admin privileges to author permissions. When you assign roles, you control content visibility and set user restrictions, making it easier to safeguard sensitive information.
For instance, an editor can publish content, while a subscriber can only read it. By carefully managing role assignments, you maintain the integrity of your site and ensure that only authorized users can access private posts or pages. Additionally, incorporating security plugins can further enhance the protection of your content.
Understanding these aspects helps you create a secure and well-organized WordPress environment.
How to Edit or Update Your Private Content?
With a solid understanding of user roles and permissions, you’re ready to manage your private content effectively.
To edit or update your private posts or pages, navigate to the WordPress dashboard and select the content you want to modify. Click on “Edit” to access the editor. Here, you can change text, images, or any other elements you need.
If you want to update visibility settings, look for the “Publish” section on the right sidebar. You can switch between private, public, or password-protected options as needed.
Once you’ve made your changes, don’t forget to click “Update” to save your edits.
Regular private content management guarantees your information remains secure and accessible only to the right audience. Additionally, utilizing plugins such as SEO Optimization Plugins can enhance your site’s overall performance and visibility.
Troubleshooting Common Issues With Private Posts?
When you encounter issues with private posts on WordPress, it can be frustrating, especially if you’re unsure where the problem lies.
First, check your post’s private visibility settings; verify it’s set correctly. If users aren’t receiving notifications, confirm they’ve the right permissions to view private content.
Sometimes, caching issues can cause delays, so clear your site’s cache and refresh.
If you’ve recently updated plugins or themes, they might conflict with private posts; try disabling them temporarily.
Finally, don’t forget to check your user roles and capabilities; users need appropriate access to see your private content. Additionally, ensure you have a reliable backup plugin in place to safeguard your posts and allow for quick recovery if issues arise.
Alternatives to Private Posts and Pages in WordPress
If you’re looking for ways to control access to your WordPress content without making it entirely private, consider password-protected posts. This option allows you to share specific information with selected readers while keeping it hidden from everyone else. Additionally, adjusting user role permissions can help you manage who sees what on your site. This approach can enhance page duplication techniques, ensuring that your content remains secure while still accessible to the intended audience.
Password Protected Posts
Password protected posts offer a simple way to control access to your WordPress content. By using password protection, you can benefit from several advantages while securing sensitive information:
- Limited access: Only users with the password can view your content.
- Easy setup: Just add a password in the post settings—no plugins needed.
- Enhanced privacy: Keep your content away from prying eyes without making it completely private.
- Flexible sharing: Share the password with selected individuals while keeping others out.
With these password protection benefits, you can confidently manage who sees your posts.
Whether it’s a private event announcement or sensitive company news, this feature helps you maintain control over your valuable information.
User Role Permissions
While password protection is a useful tool, leveraging user role permissions can offer a more tailored approach to content accessibility in WordPress.
By utilizing role management, you can define specific user capabilities, allowing you to control who sees what. Instead of simply hiding content behind a password, you can assign roles like Administrator, Editor, or Subscriber, each with distinct user access levels.
This method enhances content visibility while ensuring that only authorized users can view or edit certain posts and pages. Furthermore, it streamlines your workflow, as you can easily manage multiple users and their permissions.
Conclusion
In a world where your ideas can be shared with just anyone, keeping some content private can feel like a welcome change. You’ve learned how to create private posts and pages, but what if you discover a hidden gem within your content that deserves the spotlight? Or what if someone tries to breach your privacy? By mastering these tools, you hold the power to protect your thoughts—just imagine what you can create next, unseen by prying eyes.