To edit your footer in WordPress, start by going to Appearance → Customize in your dashboard. Here, you can change footer content, add widgets, and modify styles to match your brand. If your theme supports it, use widgets under Appearance → Widgets to include text, images, and social media links. Don't forget about real-time preview to see your changes live! You can also explore additional resources for custom code and layout ideas. There's plenty more to discover to make your footer as effective and appealing as possible, so keep exploring your options for a polished look.
Understanding WordPress Footers
When you look at a WordPress site, you'll notice that every page has a footer, which plays an essential role in your site's overall design and functionality.
The footer serves as a consistent area for important information and navigation links, making it a vital element for enhancing user experience. Typically, it includes copyright notices, contact information, and links to important pages like privacy policies and terms of service. A well-designed footer can also improve user experience by guiding visitors to essential information efficiently. Additionally, many WordPress themes offer specific footer customization options that can elevate your site's aesthetic and functionality.
To customize your footer, you can explore various editing options provided by your WordPress theme. Minimalist themes often prioritize clean layouts and user-friendly navigation, which can enhance the effectiveness of your footer.
Different WordPress themes may offer varying levels of customization; some allow you to manipulate footer widgets directly or use the theme customizer.
If you're using a block theme, you can take advantage of the Site Editor for more flexible design options.
Benefits of a Custom Footer
Customizing your footer can greatly enhance your website's functionality and user engagement. A custom footer improves user experience by providing easy navigation to important pages, making it simpler for visitors to find what they need. This increased accessibility can lead to higher engagement with your content. Additionally, regularly implementing backup strategies can further safeguard your website's data and ensure that your footer remains functional in case of any unforeseen issues.
Including social media links in your footer not only helps establish your brand identity but also fosters trust with visitors, encouraging them to connect with your business. Additionally, a well-structured footer can boost your SEO efforts through internal links that help search engines understand your site's structure, potentially increasing the time users spend browsing. Regularly updating content is also essential for maintaining engagement and relevance.
You can also incorporate a newsletter signup form in your custom footer to effectively capture leads and grow your subscriber base, enhancing your marketing efforts. Furthermore, adding SEO optimization plugins to your site can further improve your footer's effectiveness by enhancing your site's search visibility.
Finally, a thoughtfully designed footer can serve as a platform for legal compliance by including links to your privacy policies and terms of service, ensuring you meet regulatory requirements.
Incorporating a footer navigation menu further streamlines the user experience, allowing visitors to access vital information effortlessly. Embracing these elements in your custom footer can greatly elevate your website's overall effectiveness.
Essential Elements for Your Footer

When designing your footer, make sure to include key contact information like your address and phone number to enhance accessibility and build trust. Additionally, consider implementing strong passwords to protect your site from unauthorized access. Incorporating security measures is essential for safeguarding customer data and transactions.
Don't forget to add social media links, as they can greatly boost engagement and help visitors connect with your brand.
Additionally, incorporating Call to Action widgets can further guide users towards important actions on your site. These essential elements can improve your site's overall effectiveness and user experience.
Key Contact Information
To enhance your website's accessibility, including key contact information in the footer is vital. This allows visitors to easily reach out to you. Start by adding your business address, email address, and phone number to the footer content. This not only provides critical information but also helps improve local SEO, making it easier for potential customers to find you in search results.
When you edit your footer, make certain that these details are clear and prominent. Consider using a clean layout that highlights your Name, Address, and Phone number (NAP). This is particularly beneficial for local businesses aiming to attract nearby customers.
Additionally, a quick links section can further improve site navigation. By directing users to essential pages like About Us, Services, and Contact, you enhance their experience on your site.
Remember to keep your footer content organized and uncluttered. While you may want to add social media links in the future, focus on the key contact information first.
This foundational step won't only make your website footer more functional but also help foster trust and connectivity with your audience.
Social Media Links
Incorporating social media links in your footer not only strengthens your online presence but also makes it easier for visitors to connect with your brand. To do this, start by adding recognizable social media icons that reflect your brand identity. This creates a cohesive footer layout that aligns with your site's overall branding.
Position these links near your contact information in the footer section for improved visibility. This strategic placement encourages users to follow or share your content. Remember, user-friendly navigation is key; verify your icons are easy to find and click.
Utilize a consistent format for your social media profiles across all pages to reinforce brand identity and aid in user recognition.
Adding a call-to-action alongside your social media links, like "Follow us for updates," can greatly motivate visitors to engage with your channels.
Editing the Footer With Theme Customizer
You can easily access the Theme Customizer by maneuvering to Appearance → Customize in your WordPress dashboard.
Here, you'll find options to change your footer content, including adding widgets and adjusting styles to match your site's design. Additionally, you can use custom CSS to make precise styling adjustments for your footer elements. Regularly updating your themes and plugins can help prevent known vulnerabilities that might affect your customizations. The customizations you make can significantly enhance your website's overall user experience. Once you're happy with your changes, just click the Publish button to save them and update your live website.
Accessing Theme Customizer
One of the easiest ways to edit your footer in WordPress is by accessing the Theme Customizer. To do this, navigate to your dashboard and select Appearance → Customize.
Once you're in the Customizer, look for the Footer section. Here, you'll find options to modify footer text, colors, and other settings depending on your theme's capabilities.
If you want to add widgets to the footer, select the Widgets option within the Customizer. This allows you to include various content types, such as text, images, and links, enhancing the footer's functionality.
As you make changes, you'll appreciate the real-time preview feature, which lets you see how your footer will look before you finalize everything.
After making your desired edits, don't forget to click the Publish button to save and apply your changes to the live site. This step is essential for ensuring that your editing footer in WordPress reflects your updates.
Accessing the Theme Customizer is a straightforward approach to tailor your footer to fit your site's style and needs effectively.
Customizing Footer Content
After accessing the Theme Customizer, customizing your footer content becomes a straightforward process.
Start by traversing to the Appearance section of your WordPress dashboard and selecting Customize. Here, you'll find the Footer section, which provides various editing options.
You can easily change the default footer text, which often includes copyright notices or site credits, ensuring it aligns with your branding.
If you want to enhance functionality, you can add widgets to the footer area, allowing you to incorporate text, images, and links. This gives your footer a more personalized touch.
Depending on your theme, you might also have options to adjust the footer layout and colors, providing you with greater control over its appearance and visual impact.
Once you're satisfied with your changes, don't forget to hit the Publish button to apply your edits across your entire website.
Customizing footer content through the WordPress theme customizer not only improves aesthetics but also enhances user experience, making it an essential step in your website design process.
Saving Your Changes
Once you've made your edits in the Theme Customizer, saving those changes is essential to confirm your new footer reflects on your website.
After customizing your footer widgets and other elements, you'll want to verify everything looks just right. The Theme Customizer provides a real-time preview, allowing you to see how your adjustments impact the footer design before finalizing.
To save your changes, simply click the Publish button located at the top of the Customizer interface. This action commits all your edits, confirming you won't lose any unsaved changes if you navigate away.
Remember, if you leave the Customizer without saving, any modifications will disappear.
Before hitting that Publish button, take a moment to explore all available customization options. Some themes may offer additional settings that can enhance your footer's overall appearance.
Once you're satisfied with your edits, click the Save button, and rest assured that your website will showcase your updated footer. If you need to make further adjustments later, you can always return to the Theme Customizer to refine your design.
Customizing Footer Using Widgets
Customizing your footer using widgets can greatly enhance your website's appearance and functionality. To get started, navigate to your WordPress dashboard and go to Appearance → Widgets. Here, you'll find multiple footer widget areas available depending on your theme. You can add various types of content to these areas, elevating your footer's utility.
Here are some ideas on what you can include:
- Text for a brief description or copyright notice
- Images or logos for branding
- Social media icons to connect with your audience
- Links to important pages for easy navigation
- Custom HTML and text widgets for personalized footer content
After you've made your selections, don't forget to click the Update button to save your changes. Regularly implementing scheduled backups ensures you won't lose your customizations and can easily restore them if needed. Backup plugins are essential tools that can help automate this process, giving you peace of mind.
It's also a good idea to preview changes before finalizing updates, ensuring your footer design looks cohesive and appealing. Additionally, regularly backing up your website is crucial to protect your customizations and prevent data loss in case of an emergency, as WordPress backup plugins can safeguard against unforeseen issues.
Using Full Site Editor for Footers
If you've enjoyed enhancing your footer with widgets, you might find the Full Site Editor a powerful tool for further customization.
To get started, navigate to Appearance → Editor in your WordPress dashboard. This opens the block-based editing interface, where you can directly edit your footer. Click within the footer area to add or modify blocks, such as navigation menus, images, or text.
To streamline your editing process, utilize the List View feature. This gives you a clear overview of all blocks in your footer, making it easier to rearrange or manage them as needed.
If you're looking for quick styling options, check out the Patterns feature. It allows you to insert premade footer block patterns that align with your site's appearance, simplifying the customization process.
Once you're satisfied with your changes, don't forget to click Save. This guarantees that all your edits are applied to your site's footer and visible to your visitors.
With the Full Site Editor, you have a flexible way to customize your footer fully, enhancing the overall design of your WordPress site.
Removing Default Footer Text
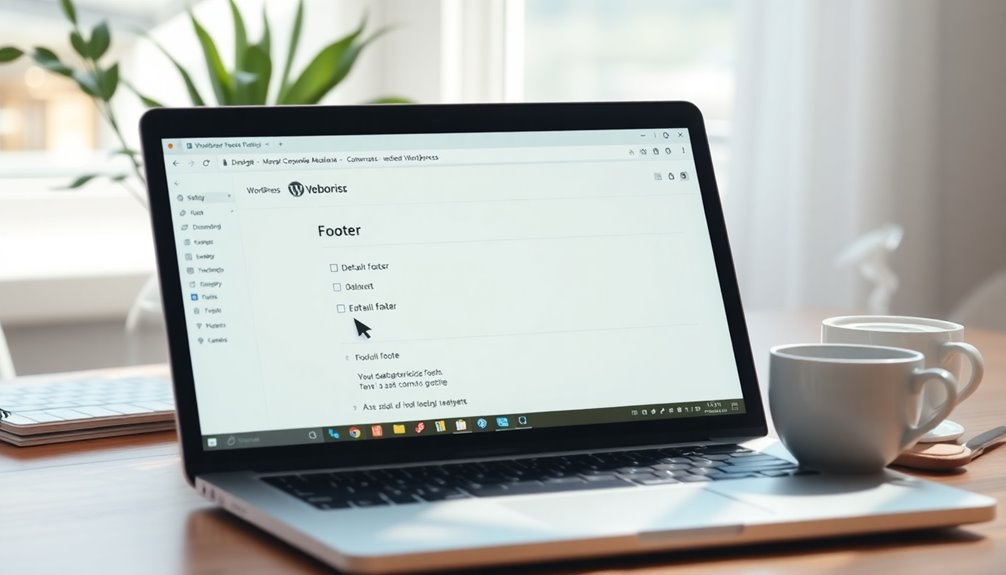
To enhance your site's appearance, removing the default footer text like "Powered by WordPress" is a simple process.
Depending on your WordPress theme, you have a few options to edit the footer effectively.
- Navigate to Appearance → Customize to check for footer options.
- If your theme lacks customization features, go to Appearance → Theme File Editor and locate the footer.php file to edit the footer directly.
- For block themes, use the Site Editor to select the footer area and modify or remove default text blocks.
- The Remove Footer Credit plugin offers an easy, code-free method to eliminate unwanted text; just install it and specify what you want to remove.
- Always remember to backup the original footer.php file or your entire site before making direct edits to guarantee you can restore it if necessary.
Additional Resources for Customization
Enhancing your footer design can greatly elevate your site's overall aesthetic and functionality. To dive deeper into footer customization, explore the WordPress Block Pattern Directory. This resource offers pre-made footer layouts, making it easy to implement stunning designs without starting from scratch.
For those wanting to add unique features, the WPCode plugin allows you to incorporate custom code snippets directly into your footer, avoiding any modifications to your theme files.
If you're looking to clean up your footer branding, the Remove Footer Credit plugin is an excellent choice. It simplifies the process of removing default credits, giving you more control over your website design.
Don't forget to leverage the wealth of tutorial videos and documentation on WordPress.org. These resources provide detailed guidance on various footer editing strategies, ensuring you can customize your site effectively.
Lastly, engaging with community forums and support channels can be incredibly helpful. Here, you can share experiences, ask questions, and learn from others who are also refining their footer layouts.
Conclusion
Now that you've learned how to edit your WordPress footer, you can really make it your own. It's a common theory that a well-designed footer can boost user engagement—so why not test it out yourself? By customizing your footer with essential elements and personal touches, you're not just enhancing aesthetics; you're improving overall site functionality. Go ahead, explore these options, and see how a unique footer can transform your website experience for visitors!

