To create WordPress pages, log in and access the Dashboard. Next, go to the Pages section and click on 'Add New'. Craft a title and content, then customize the layout using the Gutenberg Block Editor. Add media and featured images for visual appeal. Save and preview your page, then publish it after reviewing for errors. Check the published page for functionality and responsiveness. These steps will guide you in creating engaging and professional WordPress pages. Mastering these basics guarantees a seamless page creation process.
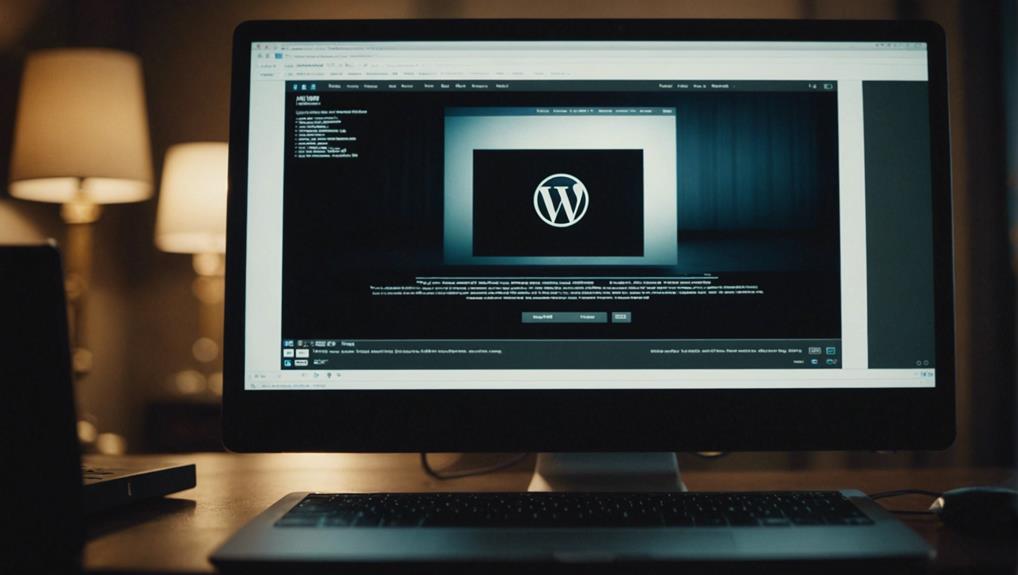
Access WordPress Dashboard
To access the WordPress Dashboard, simply log in to your WordPress site using your username and password. Once you're logged in, you can manage various aspects of your website by moving around the Dashboard. You can find the Dashboard by clicking on the WordPress logo located at the top left corner of your screen.
Within the WordPress Dashboard, you have the ability to create new pages for your website. This feature allows you to craft engaging content and organize information effectively. Additionally, you can create posts, manage comments, and customize the appearance of your site to suit your preferences.
Customization options within the Dashboard enable you to personalize the layout and add shortcuts for quick access to frequently used tools. By utilizing these features, you can streamline your workflow and enhance the functionality of your WordPress site. Take advantage of the Dashboard to efficiently manage your website and create compelling pages that resonate with your audience.
Navigate to Pages Section
When accessing your WordPress dashboard, locate the Pages section to begin managing and creating static content for your website. The Pages section is where you can manage all your static pages efficiently. Here's how to navigate to the Pages section:
- Access WordPress Dashboard: Log in to your WordPress admin panel.
- Locate Pages Section: Look for the 'Pages' option on the left-hand menu of the dashboard.
- Begin Managing Static Pages: Click on the 'Pages' option to access the section where you can add, edit, and organize your static pages.
Click on 'Add New'

When you click on 'Add New', you're taking the first step in creating your WordPress page. This action opens up the editor, giving you the space to start building your content.
Accessing 'Add New'
Click on 'Add New' within the Pages menu of the WordPress Dashboard Navigation to initiate the page creation process. When you click on 'Add New', you'll be directed to the WordPress page editor where you can start crafting your content.
Here are three key points about accessing 'Add New':
- The 'Add New' button simplifies the process of creating a new page on your WordPress site.
- By accessing 'Add New', you can easily customize the content of your page using text, images, videos, and more.
- This feature provides a user-friendly interface to begin working on a blank page and tailor it to your preferences.
Navigating Page Settings
To efficiently manage your page settings in WordPress, simply navigate to 'Add New' under the Pages menu within your WordPress Dashboard. Clicking on 'Add New' will take you to the page editor where you can customize the content for your new page.
In the page editor, you can adjust the status, visibility, and schedule for publication of your page. Additionally, you can customize the permalinks to optimize the URL structure and select featured images to enhance the appearance of your page.
Take advantage of the user-friendly interface of the page editor, which offers blocks for adding text, media, and various content elements. Use the settings on the right side of the editor to control how your page is displayed on your WordPress site.
Add Title and Content
When adding a title to your WordPress page, make sure it's descriptive and relevant to the content you plan to showcase.
Use the block editor to structure your content effectively, incorporating text, images, videos, and other multimedia elements for a dynamic presentation.
Title Format
Crafting an engaging and informative title for your WordPress page is crucial for maximizing its visibility and impact. When creating a WordPress page title, consider the following:
- SEO Optimization: Guarantee the title is descriptive yet concise, within the 60-character limit, to enhance search engine optimization.
- Reflective Permalink: The page title doubles up as the permalink, so make sure it accurately reflects the content for better URL relevance.
- Catchy and Relevant: Choose a title that's catchy and relevant to attract visitors, improve visibility, and enhance user experience.
Content Structure
TITLE: Structuring Your WordPress Page Content
To effectively structure your WordPress page content, begin by adding a descriptive title that's concise and SEO-friendly. Utilize the block editor to format and organize your content, incorporating text, images, videos, and more.
Customize your page layout by adding various content blocks from the block library, providing flexibility in design. Guarantee your page settings are optimized for SEO, visibility, scheduling, and featured images.
Multimedia Inclusion
Incorporating multimedia elements such as images, videos, and audio is crucial for enhancing page engagement and visual appeal on your WordPress site. To make the most of multimedia inclusion, follow these tips:
- Descriptive Titles: Guarantee that the titles for your multimedia are relevant and descriptive, providing clarity to your audience.
- Gutenberg Editor Blocks: Utilize the Gutenberg editor blocks to easily add and customize multimedia content on your WordPress pages.
- Captions for Context: Adding captions to your multimedia elements not only enhances accessibility but also provides context for users with disabilities.
Customize Page Layout
For a personalized touch to your WordPress page, consider using the Gutenberg Block Editor to tailor the layout according to your preferences. The block editor allows you to customize the page layout by arranging different content blocks with ease.
If you desire more intricate layouts, explore page builder plugins like Divi, which offer drag-and-drop functionality for creating unique designs. Adjusting column widths, background colors, and typography settings can enhance the visual appeal of your page.
It's important to incorporate responsive design elements to make sure your layout looks great on various screen sizes. Additionally, implementing custom CSS code or templates can help you achieve a distinctive and branded look for your page.
Add Media and Featured Image

How can you enhance the visual appeal and engagement of your WordPress page? By incorporating media and featured images, you can create a more visually appealing and engaging experience for your audience.
Here are three essential steps to add media and featured images to your WordPress pages:
- Upload Media: Easily upload images, videos, or audio files directly to your page to enrich your content and capture your readers' attention.
- Select from Media Library: Access your media library to choose from previously uploaded files, ensuring consistency in your visual content and saving time in the process.
- Set Featured Images: Highlight your content by setting a featured image that will be displayed prominently on your page, in search results, and on social media previews, increasing the visibility and attractiveness of your content.
Save and Preview Page
To guarantee your WordPress page is saved properly and appears as intended, the next step is to save and preview the content before publishing. Utilize the 'Save draft' button to make certain your work is preserved for future editing sessions.
Click on the 'Preview' button to see a sneak peek of how your page will look to visitors. This preview feature allows you to assess the formatting, layout, and overall appearance of the page, ensuring it's visually appealing and error-free.
Before finalizing, remember to click the 'Update' button to save the latest modifications made to your content. By saving and previewing your WordPress pages, you can make sure that your content is polished and ready for publishing.
Take advantage of this step to catch any errors and make necessary adjustments to create a seamless and engaging user experience.
Publish Page

When finalizing your WordPress page and readying it for public viewing, simply click on the Publish button at the top right corner of the page editor.
Here are three simple steps to successfully publish your new page on your WordPress website:
- Confirm Content: Make sure that your page content is complete and error-free before proceeding to publish.
- Click Publish: Once you're satisfied with your page, click on the Publish button to make it live on your website.
- Access Your Page: After clicking Publish, your new page will be accessible to visitors on your WordPress website.
Conclusion
You've successfully navigated the treacherous waters of creating a WordPress page. You're now a certified page-building wizard, armed with the power to conquer the digital domain with your words and ideas.
So go forth, brave adventurer, and may your pages be forever engaging and your layouts be forever responsive. And remember, with great power comes great responsibility…to update your plugins regularly. Good luck!