To edit your WordPress footer, start by logging into your dashboard and browsing to Appearance > Editor. Click on the footer area to access customization options. You can choose from premade footer block patterns or create a custom footer using plugins like SeedProd. If you want to modify widget areas, go to Appearance > Widgets. For deeper edits, check the footer.php file under Appearance > Theme Editor. Remember to back up your changes regularly to avoid data loss. Stick around, and you'll discover more ways to enhance your footer for better user engagement!
Understanding the WordPress Footer
The footer is an essential element found at the bottom of every WordPress page, and it's often where you'll find important links like privacy policies and copyright information. Understanding the footer is important since it's defined in a separate file named footer.php. This means that any changes you make will reflect across your entire site.
Many WordPress themes come with built-in customization options for the footer, allowing you to personalize it according to your brand's needs. You can add text, images, and links to enhance user engagement and improve the overall experience.
In addition, including navigation menus in the footer can greatly boost site navigation by linking to key pages, posts, and categories. Moreover, customizing your footer can be done effortlessly through the WordPress theme customizer, which simplifies the process and provides various layout options.
Customizing the footer isn't just about aesthetics; it can also enhance your site's SEO. A well-structured footer can help search engines better understand your site's layout and content. Plus, by making important links easily accessible, you encourage visitors to explore more of your site.
Accessing the Site Editor
To customize your WordPress footer effectively, you'll need to access the Site Editor. Start by logging in to your WordPress dashboard, then follow these steps:
- Navigate to Appearance in the sidebar.
- Click on Editor to open the Site Editor.
- Verify you're using a block theme, as the Site Editor is designed for full site editing. Additionally, consider enhancing your footer with SEO optimization plugins to improve visibility and user engagement.
- Once you're in, click directly on the footer area to begin editing.
In the Site Editor, you can also choose a footer pattern for more customization options. Don't forget to utilize the List View feature; it helps you manage and rearrange blocks in the footer efficiently. This way, you can have full control over what appears in that vital section of your site.
After making your edits, it's important to save changes by clicking the Save button. This action applies all your updates to your website's footer, guaranteeing that your modifications are live.
With these steps, you're well on your way to creating a footer that suits your style and enhances your site's functionality.
Adding Footer Block Patterns

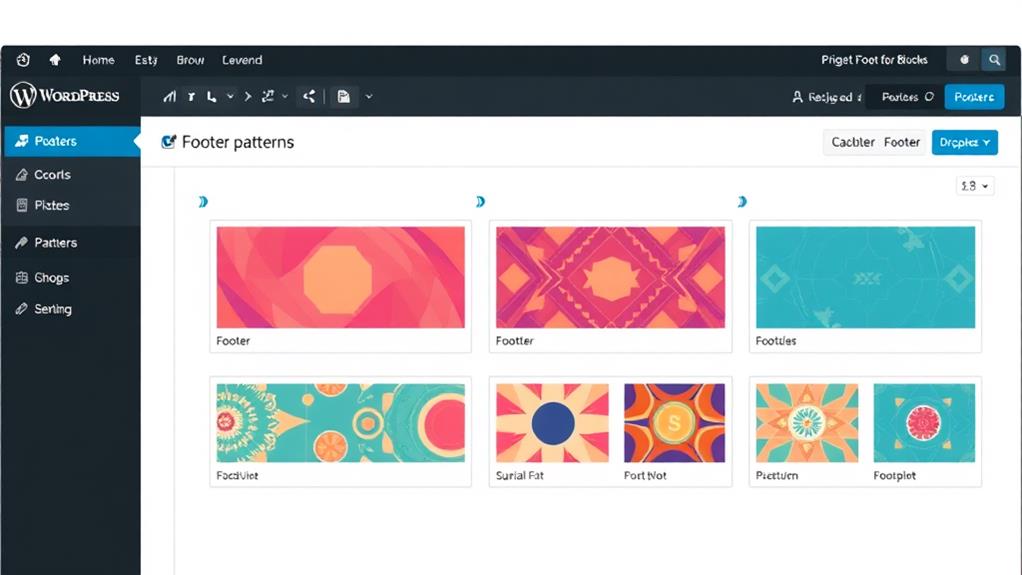
To enhance your site's footer, you can easily select from a range of footer block patterns in the Site Editor.
Utilizing themes like Astra's customization options can further improve your footer's design.
Once you've added a pattern, customize the layout and content to align with your branding.
Don't forget to save your changes to see your new design live!
Selecting Footer Patterns
Enhancing your website's footer can greatly impact its overall appearance, and adding footer block patterns is a simple way to achieve this.
To get started with selecting footer patterns, follow these steps:
- Navigate to the Site Editor under the Appearance section in your WordPress dashboard.
- Click on the footer area where you want to insert the pattern.
- Browse through the selection of premade footer block patterns that offer professionally designed layouts.
- Once you find a pattern you like, be sure to save your changes to apply the new design to your site.
Using the List View in the block editor can also help you manage and organize blocks effectively within the footer.
If you're unsure about the process, video demonstrations are available to guide you through adding block patterns.
This way, you can easily implement stylish footers without needing extensive design skills.
Customizing Footer Layout
Customizing your footer layout is a great way to make your website stand out and reflect your brand's identity.
To get started, access the Site Editor by directing yourself to Appearance → Editor in your WordPress dashboard. Once you're in the Site Editor, click on the footer area to edit it. Here, you'll find a selection of premade footer block patterns that can simplify your design process.
Choosing a footer block pattern allows you to quickly insert a professionally designed footer layout. This means you don't have to start from scratch, saving you time and effort.
After selecting your desired footer block pattern, feel free to customize it further. You can add or modify blocks to better fit your site's branding and content needs.
Creating Custom Footers
Creating custom footers in WordPress is a straightforward process, especially with the SeedProd plugin.
By utilizing a clean design approach, you can guarantee your footer aligns with the minimalist aesthetic of your website.
You can tailor your footers for specific pages using its drag-and-drop design features, making customization easy and efficient.
Let's explore how to enhance your site's footer to better serve your visitors.
Using SeedProd Plugin
With SeedProd's powerful plugin, you can effortlessly design a custom footer for your WordPress site, even without any coding skills. This user-friendly tool features a drag-and-drop interface that simplifies the entire process.
To get started, you'll need to install and activate the SeedProd Pro plugin, revealing advanced footer design capabilities.
Here's how to create stunning custom footers with the SeedProd plugin:
- Choose a Template: Select from over 300 pre-built footer templates tailored to your site's needs.
- Add Content Blocks: Incorporate various elements like text, images, navigation menus, or social media icons to enhance engagement.
- Customize Your Design: Use the drag-and-drop interface to adjust layouts, colors, and fonts to match your brand's aesthetic.
- Preview in Real-Time: Check your footer design before publishing to guarantee it looks just right.
With these steps, you can create a professional-looking footer that elevates your website's overall appeal.
Immerse yourself in the customization options with the SeedProd plugin and make your footer design truly standout!
Tailoring Footers for Pages
Tailoring footers for individual pages can greatly enhance your site's user experience and branding. To create a custom footer in WordPress, start by accessing the Site Editor via Appearance → Editor.
Navigate to the Patterns section, where you can manage template parts for reusable content. Here, you can create a new footer template part by giving it a descriptive name and adding the blocks or patterns you want, allowing for unique designs tailored to different pages.
Once you've crafted your custom footer, don't forget to save your changes. You can apply the new footer to specific pages by selecting it in the page editor or template settings.
If you're looking for a simpler way to edit footers, consider using plugins like SeedProd. It offers drag-and-drop functionality and more than 300 templates, making it easy to create custom footers without any coding knowledge.
Lastly, regularly preview your custom footers across various pages. This guarantees they not only align with your overall site aesthetic but also function seamlessly, enhancing the experience for visitors on your WordPress websites.
Drag-and-Drop Design Features
Often, users find that drag-and-drop design features in WordPress make it incredibly easy to craft custom footers, even without coding experience.
With tools like SeedProd, you can create footers that align perfectly with your site's brand. Here's how you can do it:
- Choose a Template: Start by selecting from over 300 professionally designed templates that suit your style.
- Utilize the Interface: Use the simple drag-and-drop interface to position elements exactly where you want them.
- Add Footer Blocks: Take advantage of block themes to easily incorporate navigation menus, social icons, and text into your design.
- Customize for Each Page: Tailor your footers for different pages, ensuring each one meets the unique needs of your audience.
Many WordPress themes also support pre-made footer block patterns, letting you quickly insert beautifully designed elements.
This streamlines the entire process and enhances your site's functionality.
With these drag-and-drop features, creating custom footers has never been more accessible or efficient. Enjoy the freedom to design exactly what you envision!
Editing Footer With Widgets

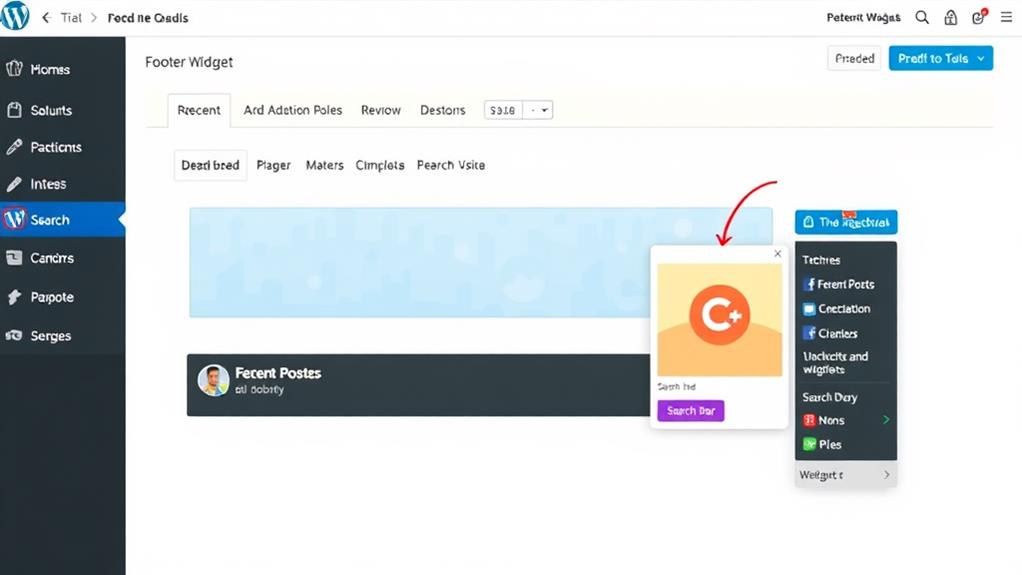
To enhance your website's footer, you can easily edit it using widgets in WordPress. Start by directing yourself to Appearance > Widgets in your WordPress dashboard. Here, you'll find the footer widget areas where you can manage various sections of your footer.
Regular backups are essential for safeguarding your website, guaranteeing that your footer content remains intact even during unforeseen issues, such as data loss or crashes (importance of backups).
To add custom content, expand each widget area by clicking the "+" icon. You can insert different types of widgets, such as Text, Custom HTML, or Social Icons.
Common footer content includes contact information, navigation menus, and social media links, which boost user engagement and accessibility.
After you've added or modified your widgets, remember to save your changes by clicking the Update button. This guarantees that the adjustments reflect on your site.
It's also a good idea to preview your website after making these changes. This way, you can check for proper placement and functionality before finalizing everything.
Managing Footer Navigation Menus
Managing your footer navigation menus in WordPress is a straightforward process that enhances user experience and website functionality.
Customizing your footer can greatly impact how visitors interact with your site, making it essential to guarantee clarity and accessibility.
Here's how you can set up your footer menu efficiently:
- Access Your Dashboard: Log into your WordPress dashboard and navigate to Appearance > Menus.
- Create a New Menu: Assign a unique name to your footer menu. If your theme supports it, select the Footer Menu display location.
- Add Links: From the left-hand column, check the pages, posts, or categories you want to include. Click Add to Menu to incorporate them into your footer.
- Organize and Save: Drag and drop the menu items to arrange them in your preferred order. Once you're satisfied, click Save Menu to apply your changes and make your new footer menu visible on your site.
If your theme allows it, you can also add the footer menu to a widget area by selecting the Navigation Menu block and choosing your newly created footer menu.
Following these steps will guarantee a well-structured footer menu that improves navigation for your visitors and aligns with best practices for theme customization options.
Customizing Footer Code

Customizing your footer code in WordPress can greatly enhance your site's functionality and appearance. To start, proceed to Appearance > Theme Editor and find the footer.php file. Here, you can edit the HTML, CSS, or PHP code to suit your needs.
However, always back up the footer.php file before making changes. This precaution prevents any loss of site functionality if something goes wrong. It's crucial to have secure backups in place, as losing your site data can lead to significant setbacks; consider utilizing reliable backup plugins like secure backup solutions for peace of mind.
If you want to add code snippets without directly editing files, consider using the Insert Headers and Footers plugin. It allows you to insert code just above the closing


