
To add bullet points in Word, place your cursor where you want the list to start. Go to the Home tab and choose a bullet style from the dropdown menu. If you have existing text, highlight it and click the Bullets button to convert it into a bulleted list. For a quicker method, type an asterisk (*) followed by a space. You can also use the keyboard shortcut CTRL + SHIFT + L for instant bullet points. Customize your bullet style anytime by exploring the options available. Keep going to discover even more formatting tips and tricks!
Methods for Adding Bullet Points
When you want to add bullet points in Word, there are several straightforward methods you can use. Proper organization, much like creating a clear navigation structure, enhances readability and user engagement in both documents and websites.
If you're creating a new list, place your cursor where you want the bullet points to start. Navigate to the Home tab and select a bullet style from the Bullets dropdown menu.
For existing text, simply highlight the lines you want to convert into a bulleted list and click the Bullets button in the Home tab. You can also quickly insert a bullet by typing an asterisk (*) followed by a space; Word will automatically format it into a bullet point.
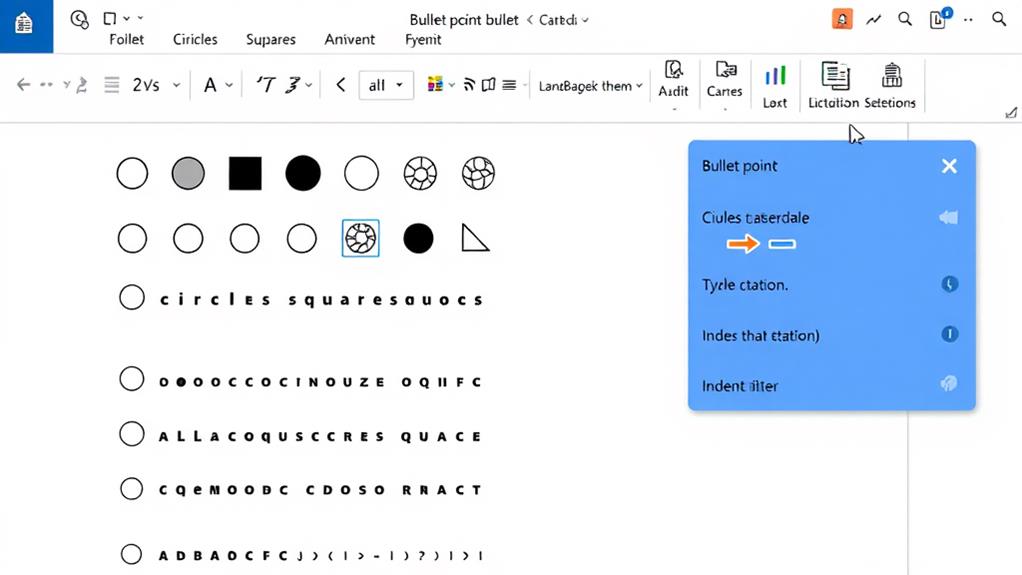
If you want to customize bullet points, select "Define New Bullet" from the Bullets dropdown to choose from different symbols, pictures, or fonts that suit your style. Additionally, you can save time by using a keyboard shortcut—just press CTRL + SHIFT + L to apply bullet formatting to selected text.
These methods make it easy to create visually appealing lists in your documents, ensuring your information is clear and organized. Whether you're starting a new list or enhancing existing text, you've got options!
Creating a Numbered List
Creating a numbered list in Word is simple and efficient, especially if you want to organize your information clearly. Here's how you can do it:
- Type "1." followed by your text to start. Incorporating plugins for better document management, like SEO Optimization Plugins, can enhance your overall workflow.
- Press Enter after each item to continue the sequence.
- To end the list, press Enter twice.
- You can also select existing text and convert it into a numbered list.
- For custom styles, click the arrow next to the Numbering button.
To create your numbered list, just type your first item. Word will recognize it as the start of a numbered list. As you press Enter after each item, the numbering will continue automatically.
If you want to switch things up, you can always click the arrow next to the Numbering button to choose a different bullet style or format.
If you need to indent a list, simply tab your cursor to move the number to the right. This feature is useful for creating sub-lists within your main numbered list.
Using these techniques will help you present information in a clear and organized manner, making your document easier to read.
Converting Existing Text to Lists

Transforming existing text into a bulleted list in Word is a quick and effective way to enhance readability.
To start, select the text you want to convert. Once you've highlighted the desired content, navigate to the Home tab and click on the Bullets icon to add bullets. This will instantly format your selected text into a bulleted list, making it easier to digest.
Additionally, organizing your content into lists can improve user engagement and clarity, similar to how WordPress allows uploading various file types for better content management.
If you want to customize the bullet style, simply click the arrow next to Bullets. You'll find a variety of bullet options to choose from, allowing you to pick one that best fits your document's theme.
For converting multiple paragraphs into a bulleted list, verify all relevant text is selected before applying the bullet formatting. This way, you won't have to repeat the process for each paragraph individually.
After you've formatted your text into a bulleted list, pressing Enter will let you add more items seamlessly. If you'd like to exit bullet mode, just press Enter twice, and you'll return to regular formatting.
With these simple steps, you can easily convert existing text into a bulleted or numbered list in Word.
Using Keyboard Shortcuts
If you're looking to speed up your workflow, using keyboard shortcuts for bullet points in Word can be a game changer.
Regularly backing up your documents is essential for avoiding data loss, just like maintaining a backup strategy for your website can protect against unforeseen disasters importance of regular backups.
Here are some handy shortcuts you need to know:
- Type an asterisk (*) followed by a space to create a bullet point.
- Type "1." followed by a space for an automatic numbered list.
- Press "Ctrl + Shift + L" to quickly insert a bullet point.
- Hold the "Alt" key and type "0149" on the numeric keypad to insert a bullet symbol (-).
- Customize your keyboard shortcuts by selecting a bullet option and assigning a shortcut in the options menu.
These keyboard shortcuts not only save you time but also help you format your text efficiently.
Whether you're making lists for a project or outlining ideas, mastering these commands will enhance your productivity.
Additionally, if you prefer a specific style of bullets, defining custom shortcuts allows you to tailor the formatting to your preference.
Additional Formatting Options
Mastering keyboard shortcuts is just the beginning of enhancing your bullet point usage in Word. To improve readability, adjust line spacing in your bulleted lists by maneuvering to the Home tab and selecting the Line and Paragraph Spacing option. This small tweak can make a big difference in how your information is perceived.
Additionally, consider the importance of using secure backup plugins to safeguard your documents and data, ensuring peace of mind while you work.
Next, don't hesitate to apply different text styles, like bold or italic, to emphasize specific points within your bullet list. This not only adds visual impact but also helps your key messages stand out.
You can also utilize themes available in Word to maintain a consistent design across your documents. Using themes enhances the overall appearance of your bulleted lists, making them more visually appealing.
For further customization, experiment with various bullet styles by clicking the dropdown arrow next to the Bullets button. This allows you to choose bullets that fit your document's theme perfectly.
Lastly, consider adding indentation to your bullet points using the Increase Indent button. This helps organize information hierarchically, enhancing clarity and making your lists easier to read.
Conclusion
In the world of Word, bullet points are your trusty compass, guiding readers through the forest of information. By mastering these methods, you can turn a chaotic jumble of text into a clear, engaging landscape. So don't hesitate—embrace the power of lists and watch your documents transform into beacons of clarity. With just a few clicks or keyboard shortcuts, you're not just formatting; you're crafting a narrative that leaps off the page and captivates your audience.