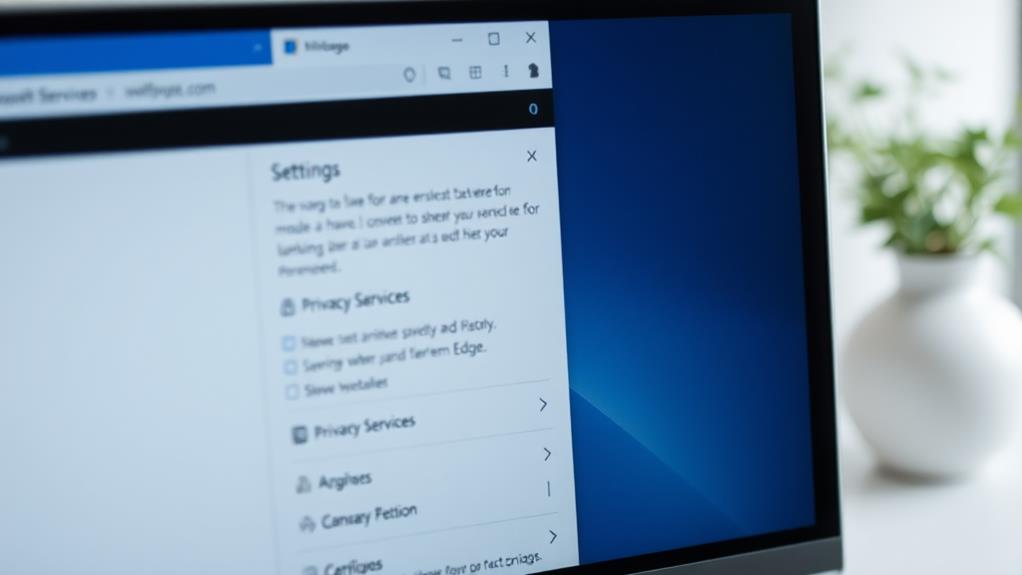
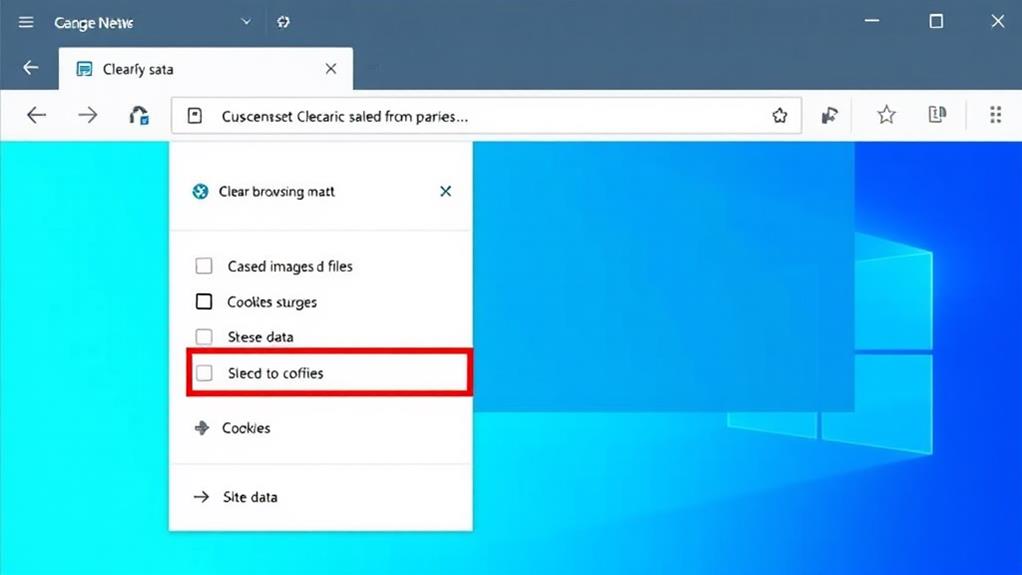
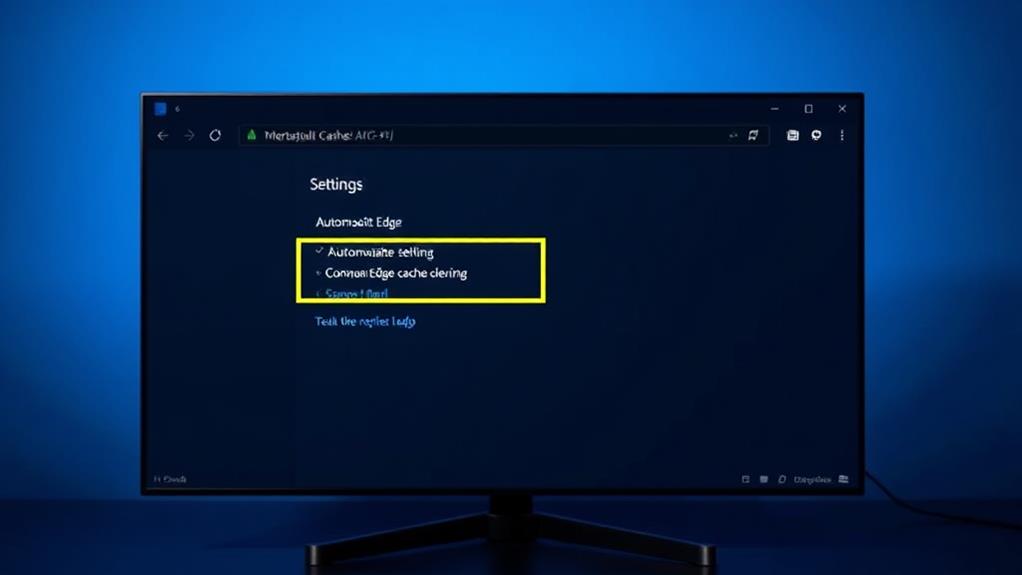
To clear your browser cache in Microsoft Edge, start by clicking the three dots in the upper right corner and select "Settings." Next, go to "Privacy, search, and services." From there, find "Clear browsing data" and choose what you want to delete, like cached images and cookies. Set your time range, then click "Clear now." You'll get a notification confirming the removal. To keep your browser running smoothly, consider enabling automatic clearing when you close Edge. Regularly clearing cached data can enhance performance, and there's more you can do to optimize your browsing experience!
Importance of Clearing Cache
When you browse the internet, your browser stores temporary files, known as cache, to help load websites faster. However, this cache can sometimes cause problems, especially with applications like Webex, which may struggle if outdated data is stored. By regularly clearing your cache, you can resolve these issues and guarantee smoother access to websites.
Additionally, ignoring security best practices, such as maintaining your cache, can lead to breaches and data loss, making it essential to keep your browser efficient for security preventing brute force attacks.
Clearing the cache not only enhances browser performance but also frees up storage space, leading to faster loading times on your next visits. Outdated cache data can compromise your security, as it retains old information that could potentially expose sensitive data. By clearing your cache, you maintain greater privacy and protect your information.
Additionally, making certain you see the most current version of a website's content is critical. When you clear the cache, you prevent the browser from loading outdated resources, providing a more accurate browsing experience.
Frequent clearing of the cache also reduces error messages and improves site responsiveness, making for a smoother overall experience. Don't forget to clear your cookies and browsing history regularly for peak performance and security.
Accessing Microsoft Edge Settings
Accessing the settings in Microsoft Edge is a straightforward process that allows you to customize your browsing experience. By maneuvering to the settings menu, you can manage your browsing data effectively. This is particularly important for maintaining peak performance and ensuring your online security, as proper configuration can enhance your overall browsing experience.
Here's how to access Microsoft Edge settings:
- Click on the Three Dots: Look for the three dots in the upper right corner of the browser window. This opens a dropdown menu.
- Select "Settings": From the dropdown, choose "Settings" to access the configuration options for Microsoft Edge.
- Navigate to Privacy Options: Find the "Privacy, search, and services" section within the Settings menu. This is where you can manage your browsing data.
Once you're in the Privacy section, you'll see options for clearing your browsing data. Under the "Clear browsing data" subsection, you can easily find and select the data types you want to remove, such as cache and cookies.
Remember, accessing settings may vary slightly depending on your version of Microsoft Edge, but the layout typically stays consistent. By following these steps, you'll be well on your way to managing your browsing data efficiently.
For additional insights on enhancing your site's performance, consider exploring performance optimization tools.
Navigating to Privacy & Services

To easily maneuver to the Privacy & Services section in Microsoft Edge, start by clicking on the three dots in the upper right corner of your browser. This action opens a dropdown menu where you can select "Settings."
Once you're in the Settings menu, look for the "Privacy, search, and services" section on the left-hand side. This section is vital for managing your browsing data, as it allows you to adjust various privacy settings.
Here, you can find options related to clearing cache and other browsing data, which can greatly enhance your online experience. Regularly reviewing these settings not only helps guarantee your privacy but also optimizes how Edge operates.
Additionally, understanding the importance of strong passwords and updates can further enhance your overall online security while using the browser.
Make sure you take the time to familiarize yourself with the different services available in this section. By doing so, you can better understand how your data is being used and what measures you can take to protect it.
Maneuvering to Privacy & Services is an essential step in maintaining your browser's efficiency and security, so don't overlook this important area in Microsoft Edge settings.
Selecting Clear Browsing Data
To select "Clear Browsing Data" in Microsoft Edge, start by clicking the three dots in the upper right corner.
This process is similar to setting up important features in a web hosting provider for your website.
From there, navigate to "Settings" and then "Privacy, search, and services" to access your clearing options.
You'll be able to choose which types of data you want to remove and set a time range for your selections.
Accessing Clear Browsing Data
Clearing your browsing data in Microsoft Edge is a straightforward process that can help improve performance and privacy.
To access the Clear Browsing Data option, follow these simple steps:
- Open the Menu: Click on the three dots in the upper right corner of your Edge browser.
- Go to Settings: From the dropdown menu, select "Settings," then navigate to "Privacy, search, and services."
- Choose What to Clear: Scroll down until you find the "Clear browsing data" section and click on "Choose what to clear."
Once you're in the Clear Browsing Data section, you can select the time range for which you want to clear data, such as "Last hour," "Last 24 hours," or "All time."
Make certain to check the boxes for "Cached images and files" and "Cookies and other site data." This will make certain you delete cookies and remove unwanted cached files.
Choosing Data Types
After accessing the Clear Browsing Data section in Microsoft Edge, you'll see a range of data types you can choose to clear. You'll want to carefully consider what to remove based on your needs. Options generally include browsing history, cookies and site data, and cached images and files.
If you decide to clear your cache, think about how it might affect your browsing experience. Cached images and files speed up page loading times on subsequent visits, so you mightn't want to clear them unless you're facing issues with outdated content.
On the other hand, cookies and site data often store your preferences and sign-in information, so you should weigh the convenience of keeping them against any privacy concerns.
You can also specify the time range for clearing data, from the last hour to "All time." Regularly clearing selected data types can enhance your browser's performance and free up storage space.
Ultimately, by choosing wisely which data types to clear, you can maintain a smoother, more efficient browsing experience while managing your privacy effectively.
Choosing Cached Data to Clear

When you decide to clear cached data in Microsoft Edge, you can customize what gets removed based on your needs. This flexibility allows you to manage your browsing experience effectively and guarantees that your data is safeguarded against potential loss.
Regularly clearing your cache can also help maintain the integrity of your browsing session and minimize issues caused by outdated content, similar to how regular backups are essential for protecting important files.
Here's a quick guide on what you can choose to clear:
- Browsing History: This includes the list of websites you've visited. Clearing this can enhance your privacy.
- Cookies and Other Site Data: Removing these will delete saved preferences and sign-in information. You might need to re-enter passwords on your next visits.
- Cached Images and Files: This option helps improve loading times by eliminating outdated or corrupted web content.
Confirming Data Deletion
After you've cleared your browsing data in Edge, it's important to verify that the correct data types were removed.
Regular maintenance of your browser, similar to scheduling regular backups, can enhance overall performance and security.
Check the "Clear Browsing Data" section to see the current status of your cached images, files, and cookies.
This step helps confirm that your browser is running smoothly and efficiently.
Verify Data Types Cleared
Verifying that your data types have been cleared in Microsoft Edge is a straightforward process.
After you've cleared your browsing data, you can easily confirm that everything you intended to remove is gone. Here's how you can validate data types cleared:
- Access Settings: Go to the "Clear Browsing Data" section in Settings. Here, you can view the options you selected during the clearance process.
- Check Summary: Look at the browsing data summary Microsoft Edge provides after clearing. Ascertain that cached images and files, as well as cookies and other site data, are no longer present.
- Revisit Websites: Visit a few websites you frequently use. If they load fresh content instead of cached versions, it's a good sign that the old data was successfully removed.
Check for Successful Removal
To guarantee that your browsing data has been successfully removed from Microsoft Edge, start by revisiting the settings. Check the section for cached images and files, as well as cookies. If these items are no longer listed, you've successfully cleared them.
Next, perform a simple test. Load a website you frequently visit to see if it takes longer to load than usual. If it does, that's a solid indicator that the cache has been cleared. After selecting "Clear now," Microsoft Edge may display a notification confirming the successful deletion of your browsing data, giving you immediate feedback on your actions.
Additionally, assess your device's storage space before and after clearing the cache and cookies. A reduction in used space suggests that cached data has been successfully removed.
If you still encounter issues, check your browsing history in Microsoft Edge to ascertain no unwanted sites remain stored. This can indicate incomplete removal of browsing data.
Setting Up Automatic Clearing

Setting up automatic clearing of browsing data in Microsoft Edge is a great way to enhance your privacy and maintain browser performance.
Regularly clearing your browser cache not only helps improve speed but also protects against potential data breaches, similar to how secure cloud storage services protect your website backups. By doing this, you won't have to worry about manually deleting data each time you finish browsing.
Here's how you can set it up:
- Open Microsoft Edge: Click on the three dots in the upper right corner and select "Settings."
- Navigate to Privacy Settings: Go to the "Privacy, search, and services" section to find "Clear browsing data."
- Enable Automatic Clearing: Here, you can choose to delete browsing data automatically when you close the browser. You can customize which types of data, such as cached images, browser history, and Cookies in Microsoft, you want to clear.
Regularly using the automatic clearing feature helps keep your browser running smoothly and guarantees that outdated data is removed without any manual effort.
Conclusion
Clearing your browser cache in Microsoft Edge is a straightforward process that can greatly improve your browsing experience. By regularly removing cached data, you not only enhance performance but also guarantee your privacy. With just a few clicks, you can keep your browser running smoothly and securely. Plus, setting up automatic clearing means you won't have to think about it—your browser will take care of itself. So go ahead and give your Edge a revitalizing clean!


