To put pictures side by side, start by selecting your photos. Browse your library and choose images that match your purpose and maintain high quality. Next, capture and crop your photos—zoom in for clarity, take screenshots, and crop out extra parts. This will enhance focus on your chosen images. Finally, save your edited photos in your camera roll for easy access, and consider backing them up in cloud storage. Once everything's set, you'll be ready to share your images on social media. And if you're curious about more tips, there's even more you can explore!
Select Your Photos
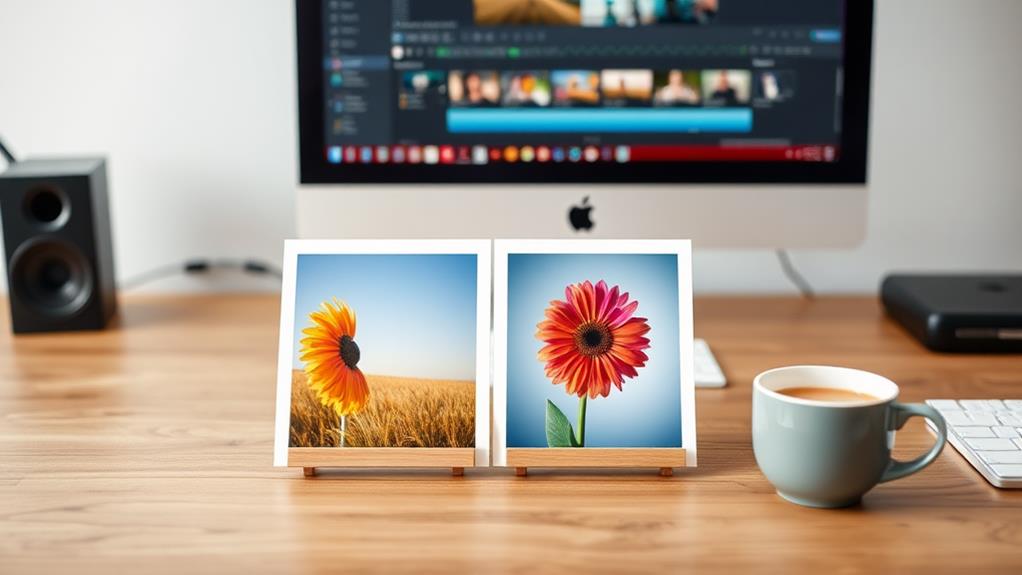
When you're ready to start creating your side-by-side photo display, the first step is selecting the right images. Begin by browsing your photo library to identify the images you want to combine. Make sure they're relevant to your intended purpose, whether it's for a special event, a memory, or a project.
Incorporating high-quality media will further captivate your audience and enhance the overall visual impact of your display.
Utilize editing tools like Collage Maker or the built-in features on your device to help you select your photos. If you're using an iPhone, open the Photos app, tap "Select," and choose the images you want. For Android users, you can easily select photos from the Google Photos app or your gallery by tapping on them while holding down the selection button.
As you select your photos, aim for images that have similar orientations and sizes. This will create a more cohesive look when you place them side by side.
Ensuring that your selected images complement each other visually will enhance the overall impact of your display. So, take your time, choose wisely, and get ready to showcase your memories in a beautiful layout!
Capture and Crop
Now that you've selected your photos, it's time to capture and crop them for your side-by-side display. Begin by zooming in on your desired images within your photo library for better visibility.
To guarantee your images are optimized for web use, consider compressing them to reduce file size without sacrificing quality, as recommended in file management tips. Once you've got them just right, take a screenshot by pressing the appropriate buttons on your device. Make sure all the images you want are included in the frame.
Next, use your preferred photo editing tools to crop the screenshot. Focus on eliminating unnecessary parts and honing in on the images you want to showcase side by side. If you've got multiple images, repeat the screenshot and cropping process for each one. This helps maintain the quality and clarity, guaranteeing your final display looks great.
After you've made all the necessary adjustments, save the cropped photos to your camera roll. This way, you'll have easy access to your images whenever you're ready to share or display them.
Taking the time to capture and crop your photos correctly will set the stage for a stunning side-by-side presentation that highlights your selected images perfectly.
Save and Share

How do you guarantee your stunning side-by-side images are easy to access and share? First, make certain to save the final image in your device's camera roll. This way, you can quickly find and share your creations whenever you want.
Additionally, utilizing a secure cloud storage service for your images can ensure they're backed up and protected against data loss from hacks or server failures. Consider using services that offer automated backup processes to further minimize manual effort.
Next, take advantage of the share feature on your photo editing app. It allows you to upload your side-by-side images directly to social media platforms or messaging apps with just a few taps.
To maintain quality, consider saving a copy of the edited image in different formats, like JPEG or PNG. This guarantees your images look their best when shared.
Before hitting that share button, review your privacy settings on social media. It's crucial to control who can see your images, especially if you want to keep them within a certain audience.
Conclusion
Now that you've effortlessly paired your photos, you're ready to showcase your creativity! By selecting, cropping, and saving your images, you've transformed a simple collection into a delightful visual story. Remember, it's not just about the pictures; it's about the memories they hold. So go ahead, share your masterpiece with friends and family, and let your artistic flair shine! After all, every snapshot tells a tale worth sharing, and you've just penned a beautiful chapter.